How to Photograph Texture and Form in Small Scenes: A Step-by-Step Method
Small scenes—an old mug on a table, a peat-y houseplant, a stack of well-thumbed books—offer excellent opportunities to practice rendering texture and form. The principle is simple: use light and distance to reveal surfaces and edges, then let composition and depth of field organize what the eye perceives as three-dimensional.
Step-by-step method
-
Choose a subject and a single goal.
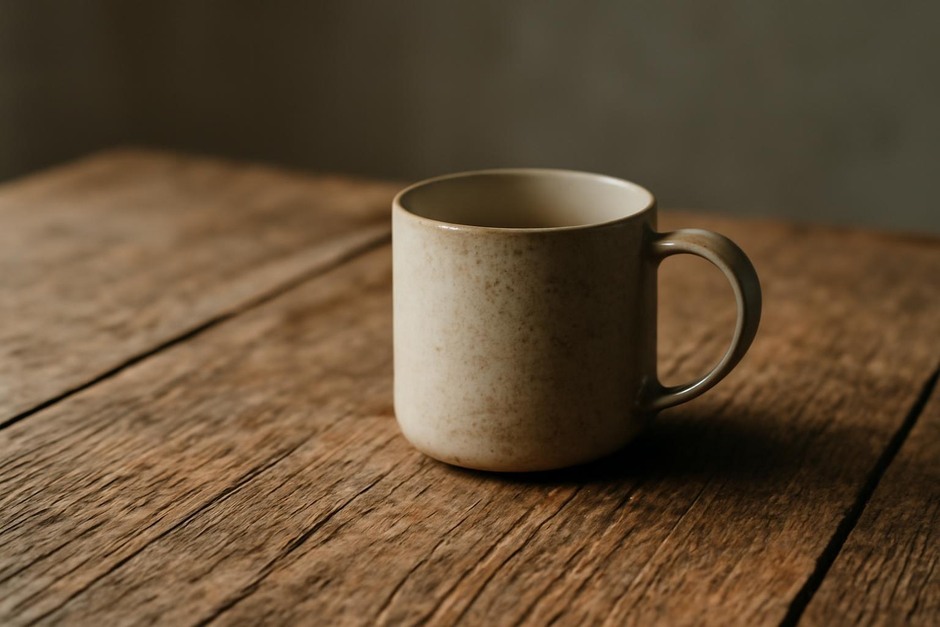
Pick one small scene and decide what you want to emphasize: surface texture (cracks, grain), overall form (curves, planes), or the relationship between two objects. Example: a dented tin can—goal: emphasize the ridged metal and its rounded shape.
-
Control the light to reveal surface.
Side light or raking light (light coming across the surface) accentuates texture. Morning or late-afternoon window light is ideal. If indoors at midday, move the subject a few feet away from the window and use a sheet or curtain to soften direct sun.
-
Set distance and focal length to define scale.
Get close enough that the subject fills the frame, but not so close that the lens distorts important lines (unless distortion is the aim). A short telephoto (50–100mm equivalent) compresses and isolates form; a wider view (24–35mm equivalent) will include environment and context.
-
Choose aperture for the desired depth.
For texture across a surface, use a smaller aperture (f/8–f/16) to keep more in focus. For isolating a single tactile patch—say, the rim of a cup—use a wider aperture (f/2.8–f/5.6) to blur the background and draw attention to that detail.
-
Decide on angle and camera height.
High angles flatten form; low angles reveal underside curves. To show the roundness of a bowl, shoot slightly below its rim. To emphasize a textured tabletop, shoot parallel to the surface so the grain runs across the frame.
-
Refine focus and exposure.
Use single-point focus on the most informative area of the subject. Consider spot metering on that point to prevent highlight blowouts on reflective textures. If the scene has high contrast, bracket exposures or use exposure compensation.
-
Take a small series of deliberate variations.
Make three frames: one wide to show context, one medium emphasizing form, and one tight focusing purely on texture. Small changes in light direction or camera height between frames often yield the most useful differences.
Variations to explore
-
Low-key vs high-key:
Use darker backgrounds and controlled light for a low-key image that emphasizes form through shadow. Use bright, diffuse light and pale backgrounds to emphasize delicate textures with minimal contrast.
-
Color vs black-and-white:
Convert to black-and-white to focus the viewer on tonal contrast and texture without color distractions. Textures often read stronger in monochrome.
-
Include a hand or small object:
An index finger, a spoon, or a bookmark can act as a scale cue and add narrative—especially useful when photographing plants or books.
-
Mixed lighting:
Combine a small LED or lamp with window light to fill shadows selectively. Use this sparingly—mixed color temperatures can be useful if deliberate.
Troubleshooting common issues
-
Flat, lifeless texture:
Problem: light is too frontal or diffuse. Fix: move the light source to the side, or create a stronger shadow with a harder light. If natural light is limited, use a small lamp to add directionality.
-
Too much background distraction:
Problem: busy surroundings compete with the subject. Fix: shift to a longer focal length, move the subject away from the background, or use a shallow depth of field to blur it.
-
Lost details in highlights or shadows:
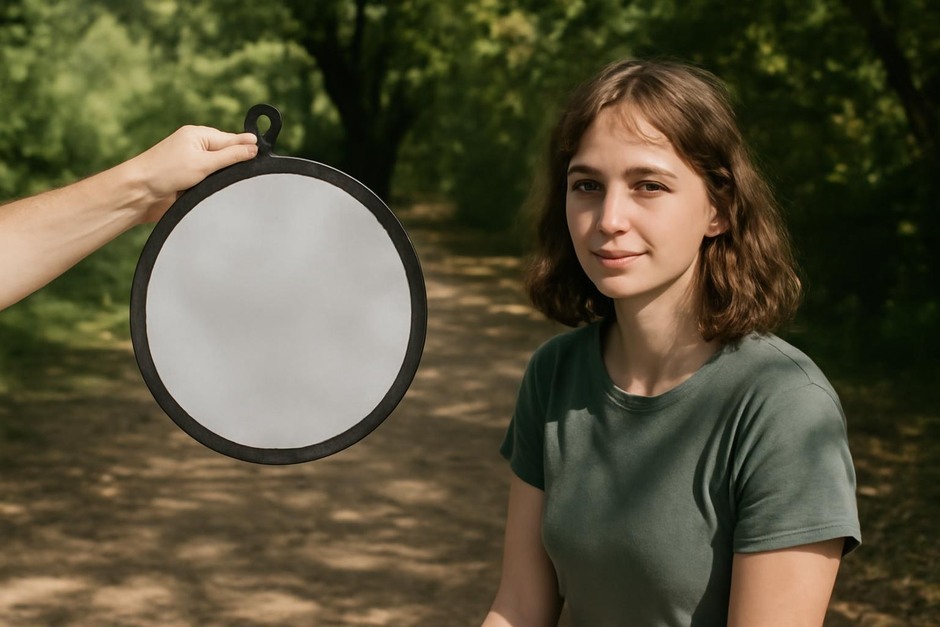
Problem: camera exposure compresses tonal range. Fix: bracket exposures, use fill reflectors for shadow detail, or underexpose slightly to preserve highlight texture and recover shadow detail in post.
-
Motion blur when shooting handheld at narrow apertures:
Problem: slow shutter speed. Fix: raise ISO modestly, stabilize the camera on a small tripod or stack of books, or open the aperture slightly and accept a reduced depth of field.
These steps are a compact practice routine: pick a small subject, set up directional light, choose a distance and aperture, and make three purposeful frames. Over time the practice trains you to see the subtle planes and surfaces that make ordinary things visually interesting. The smallest adjustments—an inch of camera movement or a shift in the light’s angle—often change an image from merely literal to tactile and alive.