Five Mini-Experiments to Build Depth in Everyday Photos
Why practice depth?
Depth is what separates a flat snapshot from an image that feels three-dimensional and alive. You don’t need exotic gear or travel to practice it — ordinary places around the house or neighborhood suffice. These five small experiments are designed to be done in sequence. Each one adds a new idea and can be completed in five to fifteen minutes. Together they build a practical skill: seeing and arranging foreground, midground, and background to make a photo that invites the viewer in.
How to use these exercises
Work through them in order. Start with a simple setup and increase complexity. Use whatever camera is at hand — phone, compact, or DSLR. Take several frames for each experiment, review them, and note what changed when you moved the camera, changed aperture if possible, or shifted the foreground element.
Experiment 1 — The Little Anchor (5–10 minutes)
Goal: Introduce a foreground anchor to start a sense of depth.
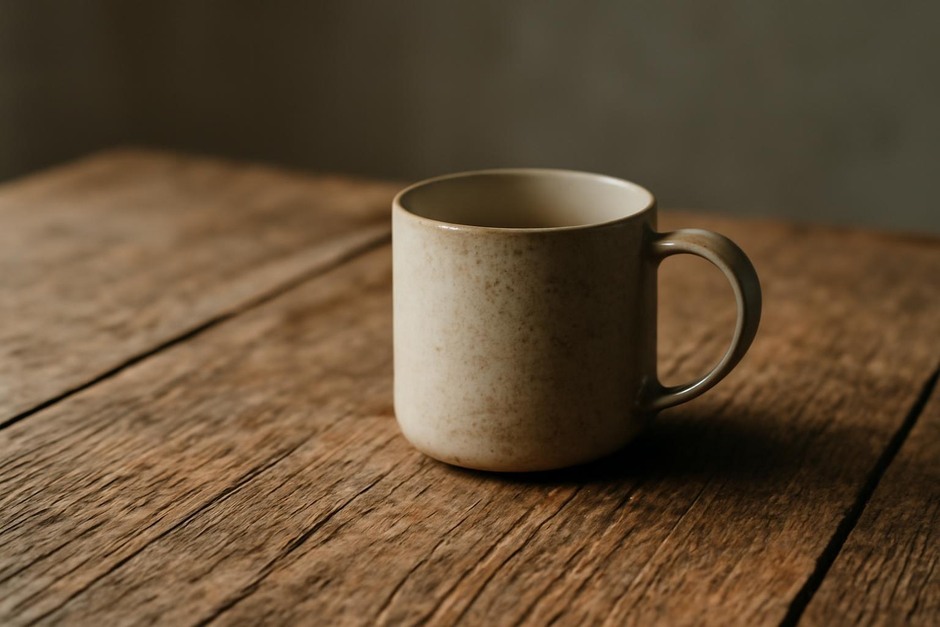
- Find a small object on a table or counter: a mug, spoon, leaf, or coin.
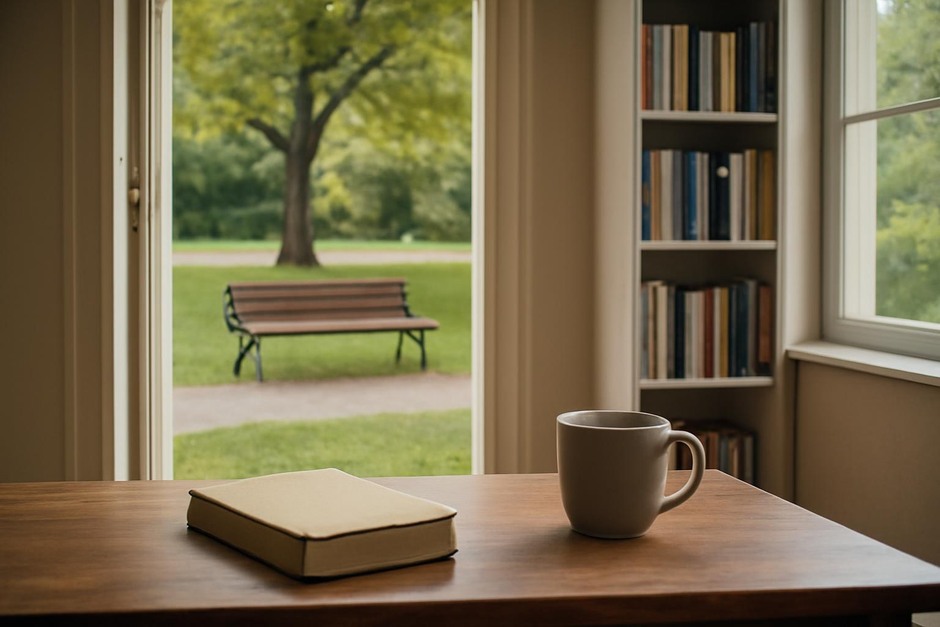
- Place it near the edge of the table between the camera and the rest of the scene (books, a plant, a window).
- Shoot two frames: one with the object close to the lens and one without it. Keep the camera roughly the same height.
What to watch: Notice how the anchor pulls the eye into the frame and gives scale. Even when slightly out of focus, foreground objects help the scene feel layered.
Variation: Move the anchor slightly left or right and see how it changes the flow toward the background.
Experiment 2 — Frame Within a Frame (10 minutes)
Goal: Use architectural elements to organize depth.
- Stand in a doorway, under an arch, or beside a window with a distinct frame.
- Compose so the frame surrounds a subject or focal point in the midground — a chair, person, or plant.
- Shoot with and without the frame; try different camera heights.
What to watch: The frame creates a clear layer between viewer and midground, making the middle layer more intentional. It also gives a strong leading edge that guides the eye.
Variation: Use shallow depth (wide aperture) to soften the frame or deep depth (narrow aperture) to keep the frame crisp and authoritative.
Experiment 3 — Diagonals and Leading Lines (10–15 minutes)
Goal: Use diagonal elements to suggest depth and movement.
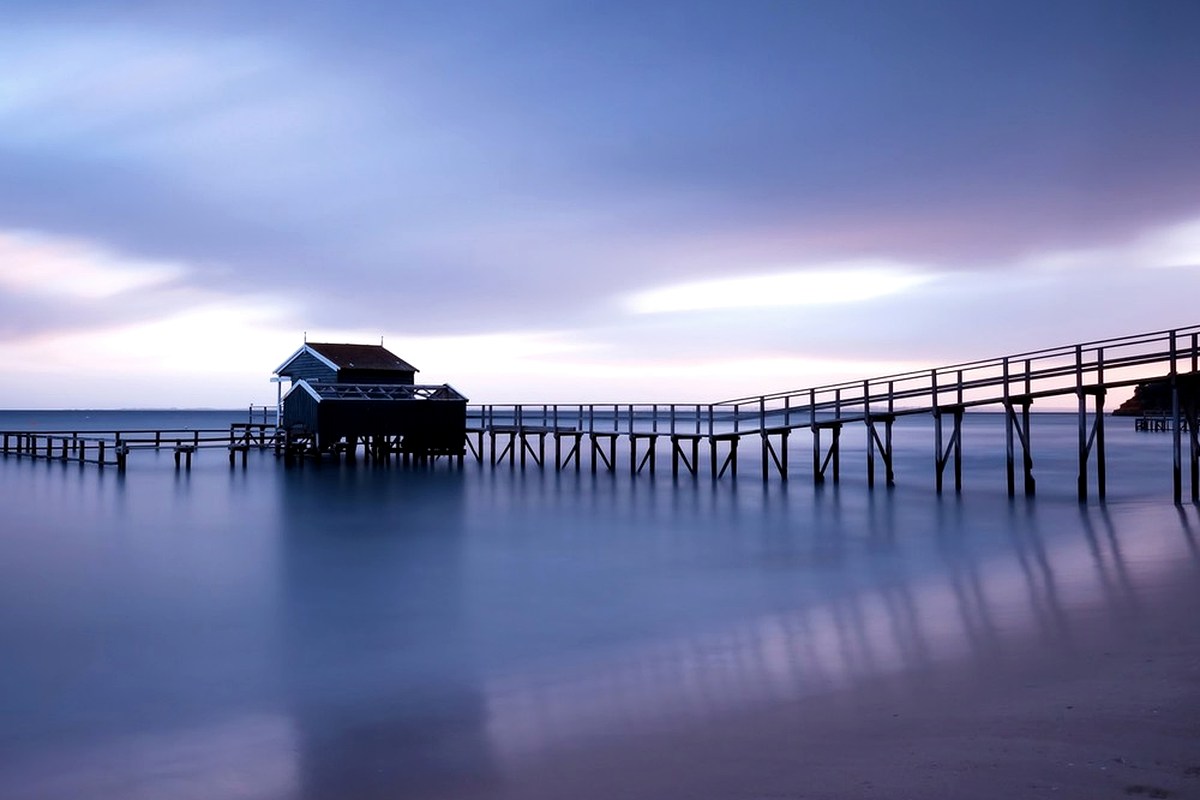
- Find a scene with a diagonal line: a stair rail, a row of benches, a path, or stacked books.
- Place the camera so the diagonal runs from foreground toward background rather than side to side.
- Shoot multiple angles: low to emphasize the foreground, higher to flatten the line.
What to watch: Diagonals compress the distance mentally and create a visual route through layers. Changing your angle alters how strong the depth feels.
Variation: Pair a diagonal with a foreground anchor (from Experiment 1) to create a stronger trip from front to back.
Experiment 4 — Layering with Aperture (10–15 minutes)
Goal: Control which layers read as distinct by using depth of field.
- Set up three clear planes: foreground object, midground subject, and background (a picture on a wall or trees outside).
- If you can control aperture, take one shot wide open (shallow depth) and one shot stopped down (deep depth).
- Observe how blurring or sharpening layers changes the story the photo tells.
What to watch: Shallow depth separates layers and emphasizes the subject. Deep depth makes connections between layers more explicit. Either choice is valid — the point is to see the deliberate effect.
Variation: Try the same with a phone using portrait mode (shallow) and normal mode (deep) to compare.
Experiment 5 — Move Your Viewpoint and Focal Length (15 minutes)
Goal: Learn how camera position and lens choice change perceived depth.
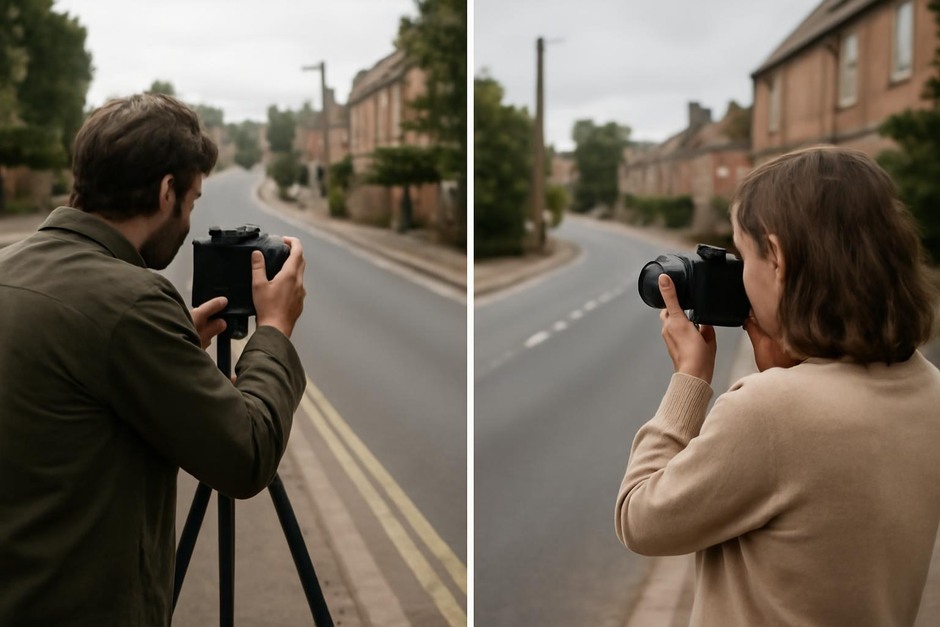
- Choose a scene with clear distance from front to back — a bookshelf, a street view, or a garden bed.
- Shoot a wide-angle frame from close to the foreground, then step back and use a longer focal length (or crop). Take one frame at eye level and one low to the ground.
What to watch: Wide-angle from up close exaggerates distance and increases separation between layers. Telephoto compresses space, making background elements seem closer to foreground ones. Changing height shifts which elements dominate.
Variation: Combine a low viewpoint with a diagonal line to maximize perceived depth.
Bringing it together — a ten-minute walk
Take a short walk near home and try to make three images that each use two of these techniques — for example, a foreground anchor plus a diagonal, or a frame-within-frame plus shallow aperture. Spend no more than ten minutes on each image. The goal is practice and quick decision-making, not perfection.
Quick critique method
- Pick your favorite and your least favorite image from the session.
- Ask: Where does the eye land first? Does it move through the frame? Which layer feels most important?
- Make one repeat shot applying a single change that addresses the weakest point.
Doing these small experiments regularly — in the kitchen, on a short walk, in a café — trains you to see three-dimensional relationships in two-dimensional pictures. Over time the moves become intuitive: a little anchor here, a diagonal there, a viewpoint shift to make the scene breathe.