A Blue-Hour Photo Walk With Just One Lens
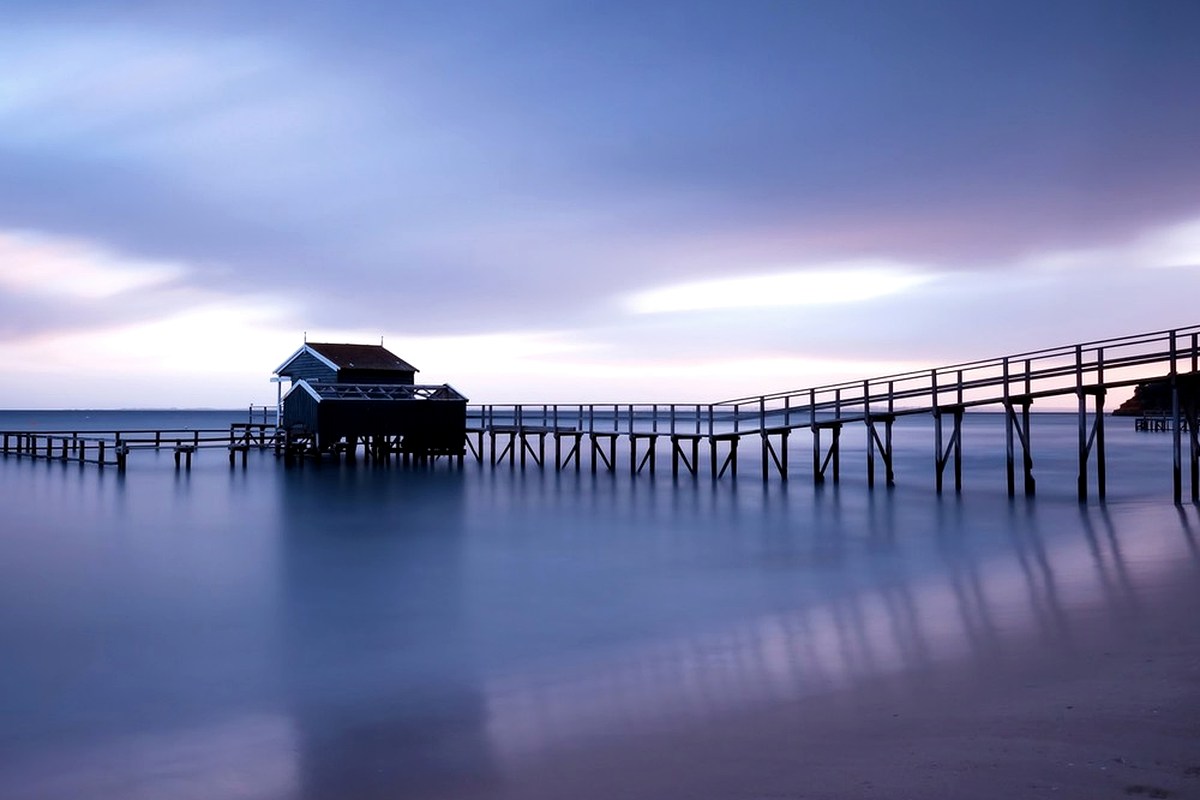
Blue hour is brief enough to feel special but forgiving enough to practice in. The sky still carries color, streetlights begin to matter, and ordinary buildings can look more dimensional than they do at noon. You do not need a long route or a bag full of equipment to make the most of it. In fact, limiting yourself to one lens can make the walk more useful because it removes a steady stream of small decisions.
Begin before the light becomes dramatic
Arrive while there is still plenty of daylight and walk the route once without trying to collect finished photographs. Notice where the open sky is visible, which façades catch the last side light, and where lamps, windows, signs, or reflections will start to glow. The first pass is less about shooting and more about learning where the scene may change.
A short route works best. Two or three blocks, a riverfront, a station square, or the streets around one landmark are enough. The goal is to see the same place in several stages of light rather than to cover distance.
Choose three subjects that can repeat
Instead of photographing everything, choose a few motifs before the sky darkens. They might be doorways, windows, silhouettes against the sky, reflections on glass, or the relationship between one tall structure and the lower buildings around it. Repetition gives the final group of pictures a sense of connection.
With a single lens, you also begin to understand its natural working distance. A wider lens may encourage you to step closer and include context. A normal or short telephoto lens can push you to look for layers, isolated details, and compressed lines. Neither approach is better; the useful part is staying with one long enough to notice its habits.
Let artificial light enter slowly
There is a point during blue hour when streetlights seem too bright for the scene. A few minutes later they often feel balanced with the sky. Try returning to the same composition several times instead of moving on immediately. You may discover that the picture you imagined at sunset works better after the background has become cooler and the windows have become warmer.
If you are shooting handheld, pay attention to your shutter speed before anything else. Raising ISO a little is usually a better trade than coming home with a file that is sharp nowhere. If you have a stable railing, wall, or bench nearby, it can become a useful improvised support for a slower exposure.
Make one photograph that is quieter than the rest
Evening photography often attracts bright signs and dramatic skylines, but a small set becomes more interesting when every frame is not competing for attention. Look for one photograph with fewer elements: a single lit window, the edge of a roof against the remaining color in the sky, or a reflection with no obvious landmark in it.
That quieter frame can act like a pause when you review the walk later. It also trains you to notice how little information a photograph sometimes needs.
Finish with a five-frame edit
When you get home, do not begin by asking which image is the most impressive. Choose five photographs that work together. Look for variety in distance and shape while keeping the overall mood consistent. A useful sequence might include one wide establishing view, two medium scenes, one detail, and one quieter frame.
Save the rest for another day. The value of this exercise is not the number of pictures you make but the way one route changes as daylight gives way to evening. Repeating the same walk a month later can be just as instructive, especially when the season, weather, and timing of the lights have changed.